Appendix A — Install Rstudio and git
A.1 Part 1: Install Git
A.1.1 Windows Users
- Download Git:
- Go to https://git-scm.com/download/win
- The download should start automatically
- If not, click “Click here to download manually”
- Run the Installer:
- Double-click the downloaded
.exefile - Recommended settings during installation:
- Use the default installation directory
- Select “Git from the command line and also from 3rd-party software”
- Use the bundled OpenSSH
- Use the OpenSSL library
- Checkout Windows-style, commit Unix-style line endings
- Use MinTTY (default terminal)
- Default pull behavior: “Default (fast-forward or merge)”
- Accept all other defaults
- Double-click the downloaded
- Verify Installation:
- Open Command Prompt (search for “cmd” in Start menu)
- Type:
git --version - You should see something like
git version 2.x.x
A.1.2 Mac Users
Check if Git is Already Installed:
- Open Terminal (Applications → Utilities → Terminal, or search for “Terminal”)
- Type:
git --version - If you see a version number (e.g.,
git version 2.x.x), git is already installed - skip to Part 2!
If Git is Not Installed:
Option A: Command Line Tools (Recommended - faster and smaller)
- In Terminal, type:
xcode-select --install - Click “Install” when prompted
- Agree to the license terms
- Wait for installation to complete (5-10 minutes)
Option B: Download from Git Website
- Go to https://git-scm.com/download/mac
- Download the installer for your macOS version
- Open the downloaded
.dmgfile and follow instructions
- In Terminal, type:
Verify Installation:
- In Terminal, type:
git --version - You should see something like
git version 2.x.x
- In Terminal, type:
A.2 Part 2: Install RStudio
A.2.1 All Users (Windows and Mac)
- Download RStudio Desktop:
- Go to https://posit.co/download/rstudio-desktop/
- Scroll down to “2: Install RStudio”
- Click the download button for your operating system (Windows or macOS)
- Install RStudio:
- Windows: Double-click the
.exefile and follow the installation wizard - Mac: Open the
.dmgfile and drag RStudio to your Applications folder
- Windows: Double-click the
- Launch RStudio:
- Open RStudio from your Applications folder (Mac) or Start menu (Windows)
- Wait for it to fully load
A.3 Part 3: Configure Git in RStudio
Open RStudio
Configure Git Settings:
- Go to Tools → Global Options
- Click on Git/SVN in the left sidebar
- Check that the “Git executable” field shows a path
- Windows example:
C:/Program Files/Git/bin/git.exe - Mac example:
/usr/bin/gitor/usr/local/bin/git
- Windows example:
- If the field is empty, click “Browse” and locate git manually
Set Your Git Identity:
- In RStudio, go to Tools → Terminal → New Terminal
- Type the following commands (replace with YOUR information):
git config --global user.name "Your Full Name" git config --global user.email "your.email@example.com"- Use the
@my.UTexas.edu email address (this does not have to be the same as your GitHub email)
Restart RStudio to ensure all settings take effect
A.4 Installation Complete!
You’re now ready for the course. Please complete the verification checklist below to confirm everything is working properly.
A.5 Verification Checklist
A.5.1 Step 1: Check Git Version
A.5.2 Step 2: Verify Git Configuration
In the same command line/terminal window, type each command and verify output:
A.5.3 Step 3: Launch RStudio
A.5.4 Step 4: Check RStudio Version
A.5.5 Step 5: Verify Git Integration in RStudio
A.5.6 Step 6: Test Terminal in RStudio
A.6 ✓ Text Editing Verification
A.6.1 Step 7: Create a Test Script
A.7 🎉 All Checks Complete!
If you checked all boxes above, you’re ready for class!
A.8 ⚠️ Troubleshooting
If Git is not found in RStudio (Step 5):
- Restart RStudio completely (quit and reopen)
- Re-check Tools → Global Options → Git/SVN
- If still empty, click Browse next to “Git executable” and navigate to:
- Windows:
C:\Program Files\Git\bin\git.exe - Mac:
/usr/bin/gitor typewhich gitin Terminal to find the path
- Windows:
- Click Browse and select the git executable file
- Click OK and restart RStudio
If Git version command doesn’t work (Step 1): - Windows: Git may not be in your system PATH. Try reinstalling Git with default settings. - Mac: You may need to install Command Line Tools. Open Terminal and type xcode-select --install
If system is still having issues: - Note the specific error message or problem - Take a screenshot if possible - Flag down instructor or TA in class. - Contact instructor or TA via Canvas.
If you run into unfixable problems with your install you can use a free account on http://rstudio.cloud.
A.9 Configure Nano as Default Git Editor
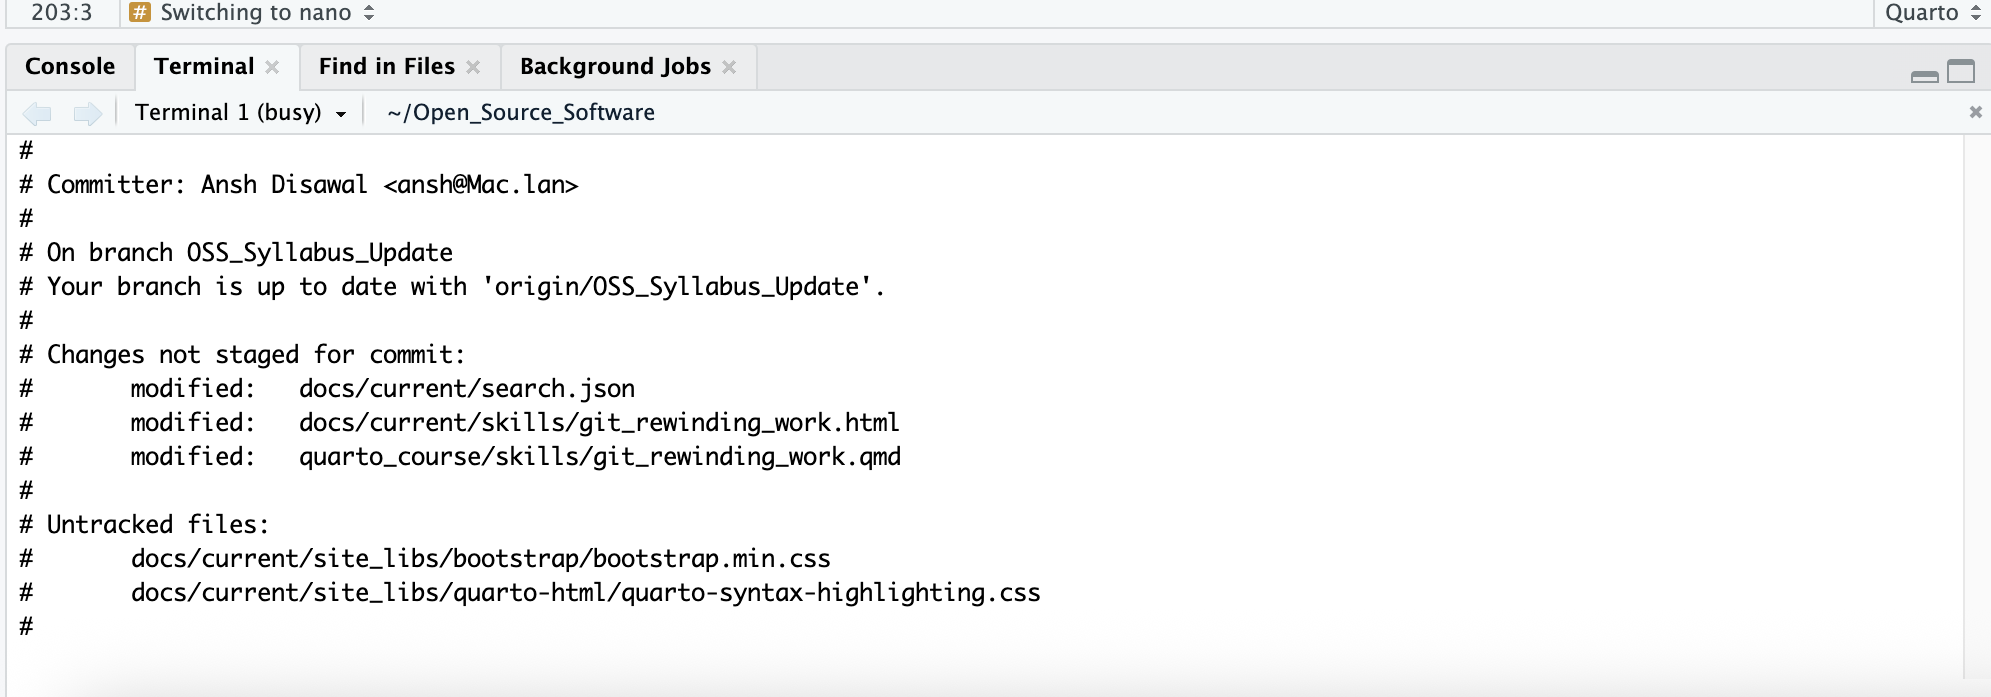
When you run git commit without the -m flag, Git opens a text editor for you to write your commit message. By default, this is often vi (or vim), which can be very confusing.
If you find yourself in vi, you might notice:
- A screen with ~ symbols on the left
- Typing doesn’t work as expected
- No obvious way to exit or save
To escape from vi without saving:
1. Press Esc twice (to enter command mode)
2. Type :q!
3. Press Enter
This exits without making a commit.
Switching to nano
Instead of struggling with vi, we recommend configuring nano as your default editor. Nano is much more user-friendly and works like most text editors you’re familiar with.
To configure nano as your default Git editor, run this command once:
git config --global core.editor nanoUsing nano:
When Git opens nano for a commit message, you’ll see:
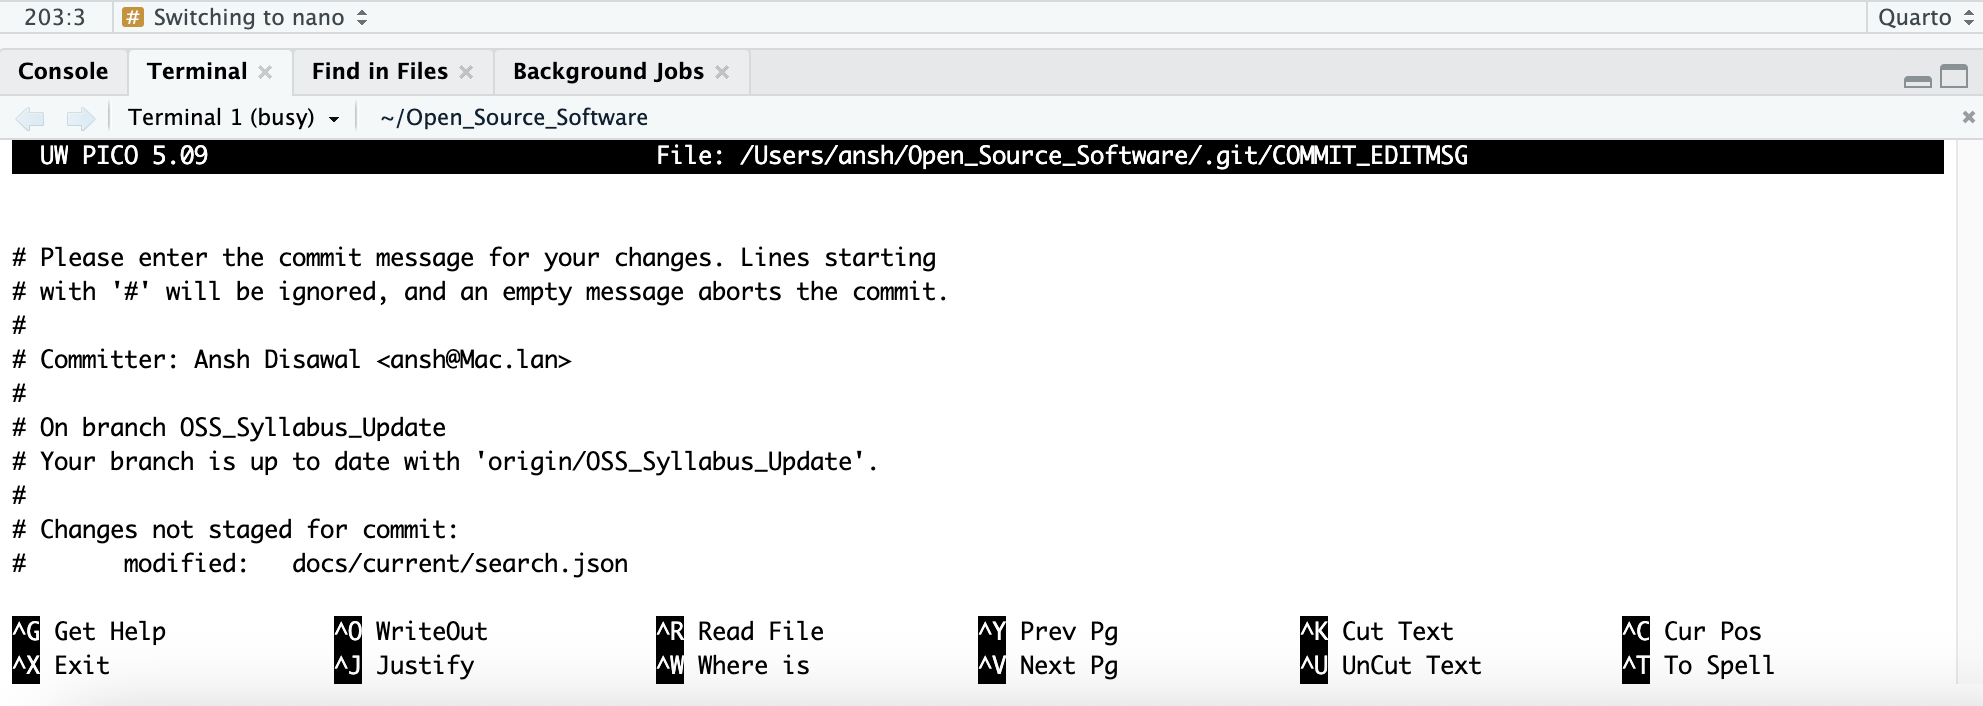
- Simply type your commit message at the top
- The bottom shows available commands where
^means theCtrlkey
To save and exit nano:
1. Press Ctrl + X (shown as ^X Exit at the bottom)
2. Press Y when asked “Save modified buffer?”
3. Press Enter to confirm
A.10 Git Default Branch: Main vs Master
Git’s default branch name has changed over time. Depending on your Git version and when you set up your repository, you may see either main or master as your default branch name. These are functionally identical, just different names for the same thing.
A.10.1 Check Your Default Branch
Check Your Git’s Default Branch Setting
git config --global init.defaultBranchA.10.2 Standardizing to main (Recommended)
Configure Git for future repositories
git config --global init.defaultBranch mainThis ensures all new repositories you create will use main by default.
A.11 Python installation
A.11.1 Windows Users
- Download Python:
- Go to https://www.python.org/downloads/
- Click the yellow Download Python 3.x.x button
- This will download a
.exeinstaller file
- Run the Installer:
- Double-click the downloaded
.exefile
- IMPORTANT: On the first screen, check the box that says “Add Python to PATH” before clicking anything else
- This box is near the bottom of the installer window
- If you miss this step, Python commands won’t work in your terminal
- Click Install Now
- Click Close when finished
- Double-click the downloaded
- Verify Installation:
- Open Command Prompt
- Type:
python --version - You should see something like
Python 3.x.x - Also type:
pip --versionto confirm pip (Python’s package manager) is installed
If python --version doesn’t work, try python3 --version. If neither works, reinstall and make sure to check “Add Python to PATH.”
A.11.2 Mac Users
- Check if Python is Already Installed:
- Open Terminal
- Type:
python --version - If you see a version number like
Python 3.x.x, Python is already installed - skip to the verification step below! - Try:
python3 --version(if that works you’ll have to typepython3each time the materials saypython)
- If Python is Not Installed - Download from the Official Website:
- Go to https://www.python.org/downloads/
- Click the “Download Python 3.x.x” button
- This will download a
.pkginstaller file
- Run the Installer:
- Open the downloaded
.pkgfile - Follow the installation wizard
- Enter your Mac password if prompted
- Click Close when finished
- Open the downloaded
- Verify Installation:
- Open Terminal
- Type:
python --version - You should see something like
Python 3.x.x - Also type:
pip --versionto confirm pip is installed
A.11.3 Python Verification Checklist
A.11.3.1 Windows
A.11.3.2 Mac
A.12 Install PyTest
A.12.1 Windows Users
- Open Command Prompt and type:
pip install pytest
A.12.2 Mac Users
- Open Terminal and type:
pip3 install pytest
A.13 Install Quarto
A.13.1 Windows Users
- Download Quarto:
- Go to https://quarto.org/docs/get-started/
- Click the Download Quarto CLI button
- Select the Windows installer (
.exefile)
- Run the Installer:
- Double-click the downloaded
.exefile - Follow the installation wizard
- Click Finish when done
- Double-click the downloaded
- Verify Installation:
- Open Command Prompt (search for “cmd” in the Start menu)
- Type:
quarto --version - You should see a version number like
1.x.x
If quarto --version doesn’t work after installation, try closing and reopening Command Prompt. If it still doesn’t work, restart your computer and try again.
A.13.2 Mac Users
- Download Quarto:
- Go to https://quarto.org/docs/get-started/
- Click the Download Quarto CLI button
- Select the Mac OS installer (
.pkgfile)
- Run the Installer:
- Open the downloaded
.pkgfile - Follow the installation wizard
- Enter your Mac password if prompted
- Click Close when finished
- Open the downloaded
- Verify Installation:
- Open Terminal
- Type:
quarto --version - You should see a version number like
1.x.x
If Terminal says quarto: command not found, close Terminal completely and reopen it - the installer needs a fresh session to be recognized.